Welcome to this comprehensive guide on how to connect your Beats headphones to your MacBook! If you’re someone who values high-quality audio and enjoys the immersive experience that Beats headphones offer, then you’re in the right place.
In this article, we will explore the compatibility between Beats headphones and MacBook, as well as walk you through the step-by-step process of connecting these two devices. So, grab your favorite pair of Beats headphones, and let’s dive in!
Overview of Beats Headphones and MacBook Compatibility
Beats headphones have gained immense popularity for their stylish design and exceptional sound quality. With a range of models available, including the Solo Pro, Studio3 Wireless, Powerbeats Pro, and more, there is a Beats headphone for every preference.
However, when it comes to using your beloved Beats headphones with your MacBook, it’s essential to understand their compatibility. Fortunately, most modern MacBooks come equipped with Bluetooth capabilities that allow seamless connectivity with wireless devices like Beats headphones.
This means you can easily pair your favorite wireless model with your MacBook without any hassle. Additionally, MacBooks also offer a 3.5mm audio jack that enables wired connections for those who prefer a direct link.
Importance of Connecting the Two Devices for an Enhanced Audio Experience
Why should you bother connecting your Beats headphones to your MacBook when you can enjoy music directly from your iPhone or other devices? Well, there are several reasons why this connection is worth exploring.
Firstly, by connecting your Beats headphones to your MacBook, you unlock a whole new level of audio enjoyment. Whether you’re listening to music or watching movies or even video editing tasks that require precise sound reproduction; having the audio transmitted directly from your MacBook allows for enhanced clarity and detail.
Add to that the convenience of using your MacBook’s extensive music library, streaming platforms, or even editing software to elevate your audio experience. The combination of Beats headphones and MacBook ensures you enjoy your favorite tunes or engage in multimedia activities with the utmost precision, immersiveness, and overall audio excellence.
Understanding the Connection Process
Explaining the different types of Beats headphones available
Beats headphones, renowned for their superior audio quality and trendy designs, come in a variety of models. Understanding the specific type of Beats headphones you own is crucial when connecting them to your MacBook.
Let’s take a quick look at some popular Beats models: 1. Beats Solo: These on-ear headphones are lightweight and compact, perfect for music enthusiasts who prefer a sleek design without compromising on sound quality.
- Beats Studio: The over-ear design of these headphones provides exceptional noise-canceling capabilities, making them ideal for travelers or individuals working in noisy environments. 3. Powerbeats Pro: Designed primarily for fitness enthusiasts, these wireless earphones offer an ergonomic fit and are sweat-resistant, ensuring they stay put during intense workouts.
- BeatsX: These neckband-style earphones are both stylish and practical. With their flexible design and excellent battery life, they are perfect for those on the go.
Identifying the appropriate connection method based on headphone model and MacBook version
Once you have identified your specific Beats headphone model, it’s essential to determine the most suitable connection method based on your MacBook version and available ports. Here’s a breakdown of the options:
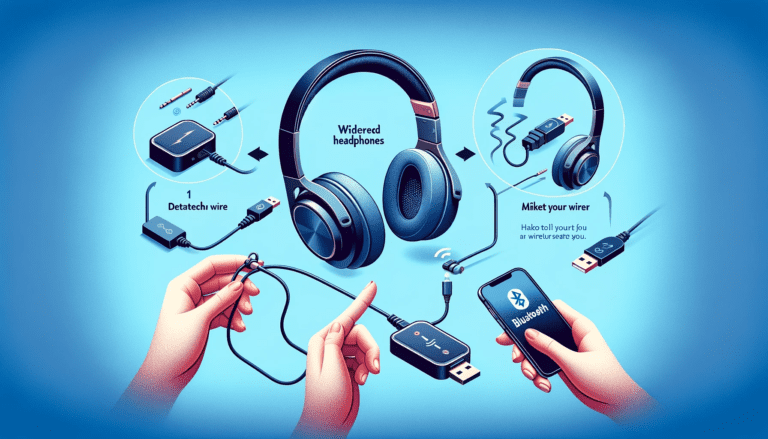
- Wireless Connection via Bluetooth: Most recent MacBook models support Bluetooth connectivity, allowing you to pair your compatible Beats headphones wirelessly. Simply activate Bluetooth on both devices, put your Beats headphones into pairing mode (usually by pressing a designated button), and select them from the Bluetooth menu on your MacBook.
- Wired Connection using 3.5mm Audio Cable: If wireless pairing is not an option or if you prefer a more direct connection, you can utilize a 3.5mm audio cable to connect your Beats headphones to your MacBook. However, it’s important to ensure that both devices have a compatible audio port.
For older MacBook models, the headphone jack on the side or front of the device can be used, while newer versions might require an adapter. To determine the appropriate connection method for your specific Beats headphones and MacBook version, refer to the user manuals or online documentation provided by both Apple and Beats.
These resources will provide detailed instructions tailored to your specific devices, ensuring a seamless connection experience. Remember, getting the right connection method not only enhances your audio experience but also allows you to make full use of all the features your Beats headphones offer.
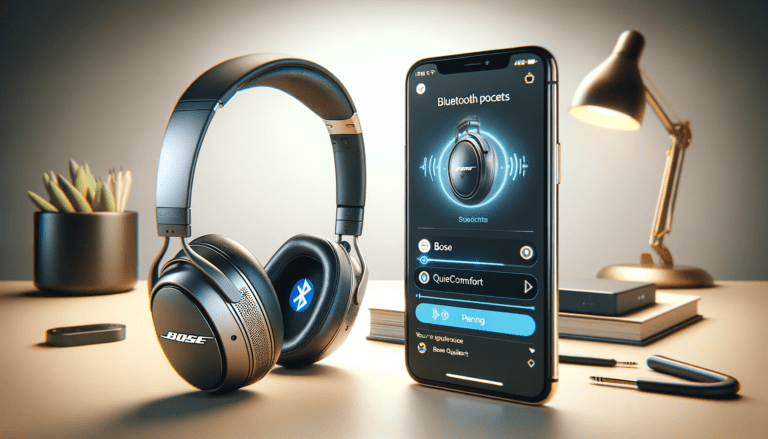
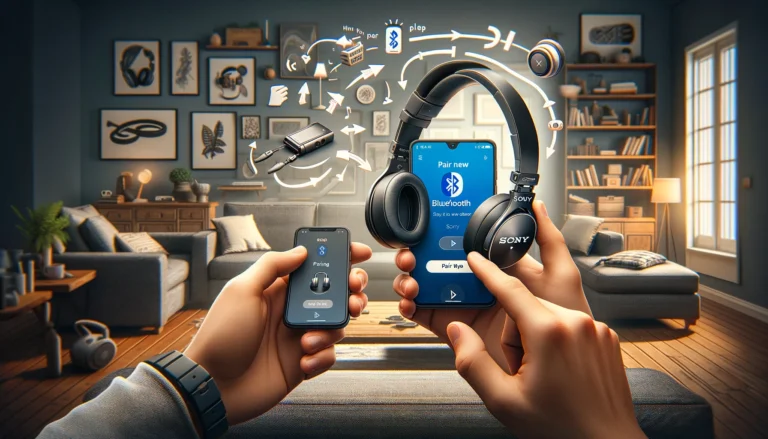
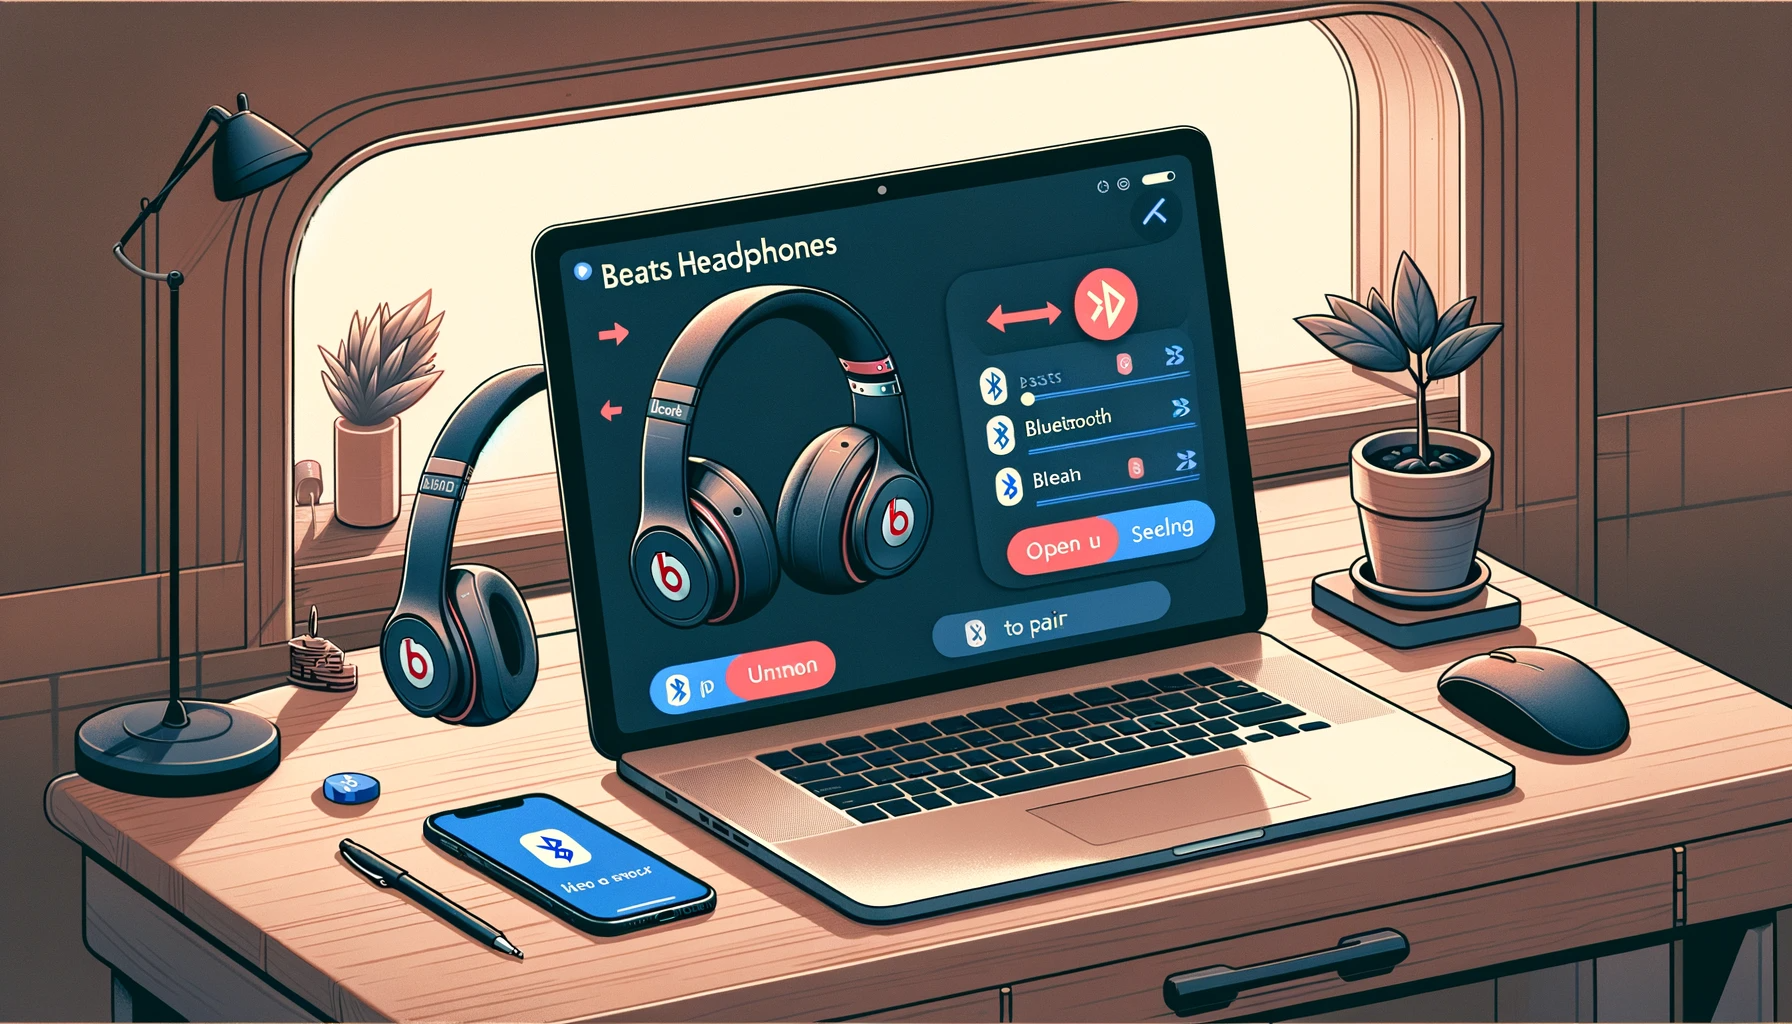
Connecting Beats Headphones to MacBook Wirelessly
Utilizing Bluetooth technology for seamless pairing
When it comes to connecting your Beats headphones to your MacBook wirelessly, Bluetooth is the way to go. This nifty technology allows for a hassle-free connection between your devices without the need for any messy cables. By leveraging Bluetooth, you can enjoy your favorite tunes or engage in virtual meetings with crystal-clear audio quality.
Activating Bluetooth on both devices
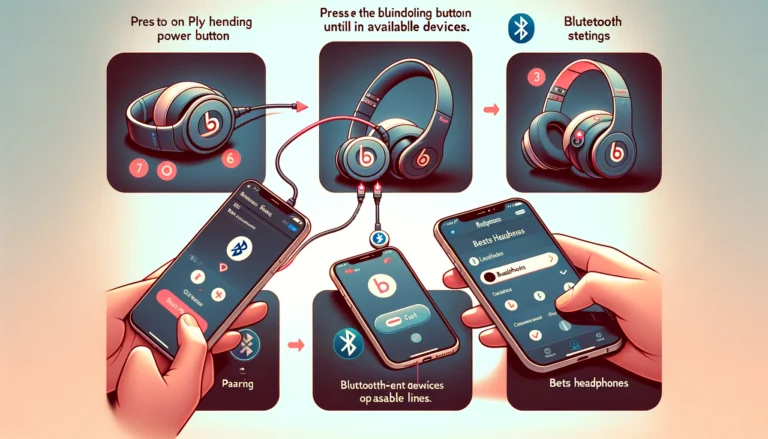
Before you can start pairing your Beats headphones with your MacBook, you need to ensure that Bluetooth is activated on both devices. On your MacBook, simply click on the Apple menu at the top left corner of the screen and go to “System Preferences.” From there, select “Bluetooth” and make sure the toggle switch is turned on. Similarly, on your Beats headphones, locate the power button (usually located near the earcup) and press and hold it until you see a flashing LED light or hear an audible sound indicating that Bluetooth has been enabled.
Putting Beats headphones in pairing mode
To successfully connect your Beats headphones with your MacBook wirelessly, they need to be in pairing mode. This mode allows them to be discoverable by other devices like your MacBook. The exact process may vary slightly depending on the model of your Beats headphones, but typically involves pressing and holding a combination of buttons.
Consult the user manual or visit the official Beats website for specific instructions related to your headphone model. Once in pairing mode, you should observe an LED light blinking or some other visual indicator that confirms they are ready to be paired.
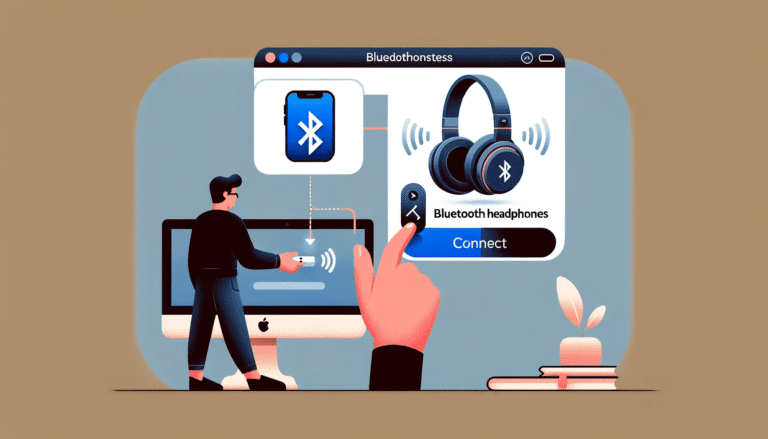
Selecting the headphones from the Bluetooth menu on MacBook
With both devices prepared, it’s time to establish a connection between them. On your MacBook, navigate back to “System Preferences” and open “Bluetooth.” Your Mac will start scanning for nearby devices.
Once your Beats headphones appear in the list of available devices, simply click on them to initiate the pairing process. Wait for a few moments while your MacBook establishes a connection with the headphones.
You may see a prompt asking you to confirm the pairing code. Follow any on-screen instructions, if necessary.
Once successfully paired, your Beats headphones should be ready to deliver outstanding wireless audio to complement your MacBook experience. Remember, wireless connections can occasionally encounter glitches or interference due to various factors.
If you experience any issues during the process, make sure both devices have sufficient battery life and try restarting them before attempting another connection. Now that you’ve successfully connected your Beats headphones to your MacBook wirelessly using Bluetooth, you’re all set to enjoy an immersive audio experience whether you’re listening to music, watching movies, or engaging in virtual meetings.
Connecting Beats Headphones to MacBook with a Cable (Wired Connection)
Using a 3.5mm audio cable for direct connection
If you prefer the good ol’ reliable wired connection, don’t worry! Connecting your Beats headphones to your MacBook using a 3.5mm audio cable is just as straightforward. This method ensures a stable and uninterrupted audio experience, without any dependence on wireless signals or battery life.
Checking for a compatible audio port on both devices
Before diving into the connection process, it’s essential to ensure that both your Beats headphones and MacBook have compatible audio ports. Most modern MacBooks feature a single 3.5mm headphone jack that doubles as an audio input/output port. For Beats headphones, locate the headphone jack on the bottom or side of your device.
It’s typically labeled with a headphone icon or indicated by an engraved headphone symbol. On your MacBook, look for the corresponding 3.5mm audio port.
Depending on the model, it may be found on either the side or front of your laptop. It usually bears an icon resembling headphones or includes “headphone” or “audio” labels.
Inserting one end of the cable into the headphone jack of Beats headphones
Once you’ve identified both ports, take one end of your trusty 3.5mm audio cable and insert it firmly into the headphone jack of your Beats headphones. Make sure it fits snugly to avoid any potential loose connections that could affect sound quality.
Ensure that you push in until it is fully seated in the jack without any part remaining visible outside. This establishes a solid physical connection between your headphones and cable.
Plugging the other end into the appropriate audio port on MacBook
Next, move along to connecting the other end of your cable to its rightful place: the appropriate audio port on your MacBook. Gently insert the cable into the 3.5mm audio port, making sure it goes in straight and without any forceful bending that might damage either the cable or the port. Once you’ve successfully plugged in both ends, you’ll feel a satisfying click or hear a slight snap, indicating that they are securely connected.
At this point, you can enjoy your favorite tunes or immerse yourself in podcasts without worrying about signal strength or battery life limitations. Remember, with this wired connection method, your Beats headphones will solely rely on your MacBook for audio playback.
So make sure to adjust volume levels and sound preferences on your laptop for an optimal listening experience. In the next section, we’ll explore some common troubleshooting steps to address any potential connection issues that might arise during this process.
Troubleshooting Common Connection Issues
Addressing potential Bluetooth pairing problems and their solutions
One of the most common issues encountered when connecting Beats headphones to a MacBook is Bluetooth pairing problems. If you’re having trouble getting your devices to recognize each other, fear not!
There are a few simple solutions you can try. Firstly, make sure that both your Beats headphones and MacBook have Bluetooth turned on.
It may seem obvious, but sometimes we overlook the simplest things. You can usually find the Bluetooth option in the settings menu on your MacBook and by pressing and holding the power button on your headphones to activate Bluetooth mode.
If turning Bluetooth on/off doesn’t work, try restarting both devices. Sometimes a simple reboot can resolve connection issues.
Turn off both your MacBook and Beats headphones completely, then turn them back on after a few seconds. This will refresh their systems and potentially solve any temporary glitches causing connectivity problems.
Resetting network settings on MacBook if necessary
If all else fails, resetting network settings on your MacBook might be the key to successfully connecting your Beats headphones. This step should be taken with caution as it will reset all network-related preferences and remove saved Wi-Fi passwords.
To reset network settings on macOS, go to “System Preferences” from the Apple menu at the top left of your screen. Then select “Network” and click on the padlock icon at the bottom left corner of the window to authenticate changes with an administrator password.
Next, click “Advanced,” followed by “Bluetooth” in the sidebar. Click “Remove” or “-” next to any paired devices that are causing issues.
Once you have reset network settings, try connecting your Beats headphones again via Bluetooth following the initial pairing steps outlined in section three of this article. Remember that troubleshooting connection issues can sometimes require a bit of trial and error before finding a solution that works.
Don’t get discouraged if the first attempt doesn’t succeed. With a bit of perseverance and these troubleshooting techniques, you’ll likely have your Beats headphones connected to your MacBook in no time.
Expanding Audio Capabilities with Additional Software/Settings
Enhancing sound quality using equalizer settings or third-party apps
When it comes to audio customization, both macOS and certain third-party apps offer a plethora of options to enhance the sound quality of your Beats headphones on your MacBook. The first place to explore is the built-in equalizer options in macOS settings.
To access this, simply go to System Preferences, click on “Sound,” and then select the “Output” tab. Here, you can find various pre-set equalizer options like Rock, Pop, Jazz, and more.
Feel free to try them out and see which one suits your preferred genre or audio preferences. However, if you want more advanced control over the sound customization for your Beats headphones, there are several popular third-party apps available that offer additional features.
One such app is Boom 3D, which allows you to fine-tune the audio output by adjusting frequencies and creating custom presets according to your liking. It also provides a virtual surround sound experience that adds depth and immersiveness to your audio.
Another notable app is EQMac2 (previously known as eqMac), which offers a graphic equalizer interface for precise adjustment of individual frequency bands. With EQMac2’s intuitive controls and real-time visual representation of changes made, you can truly fine-tune your Beats headphones’ sound output based on personal preferences or specific genres.
Exploring built-in equalizer options in macOS settings
macOS comes equipped with a variety of built-in equalizer options that allow you to adjust the sound output according to different audio genres or personal preferences. To access these settings:
- Open System Preferences from the Apple menu.
- Click on “Sound.”
- Select the “Output” tab.
- Choose your Beats headphones from the list of available devices.
- Click on the “Output” tab again (if necessary) to reveal the equalizer options.
In the equalizer window, you’ll find a range of pre-set options like Rock, Pop, Jazz, Classical, and more. Each preset is optimized to emphasize certain frequencies that are characteristic of the respective genres.
Experiment with these presets and find the one that suits your audio preference or enhances your favorite type of music. Remember that these settings are not exclusive to Beats headphones; they can be used with any audio output device connected to your MacBook.
Suggesting popular third-party apps that offer advanced audio customization
While macOS provides built-in equalizer settings, some users may desire more advanced control over their Beats headphones’ sound customization. That’s where third-party apps come into play, offering additional features and functionality beyond what macOS provides.
One highly regarded app for advanced audio customization is Boom 3D. This app offers a comprehensive sound equalizer with multiple frequency bands for precise adjustments tailored to your preferences.
It also includes features like spatial enhancement, which expands the soundstage of your music and creates a more immersive listening experience. Additionally, Boom 3D provides customizable presets so you can save preferred settings for different genres or specific songs.
Another popular choice is EQMac2 (previously eqMac), an app specifically designed for macOS that offers graphic equalization capabilities. With EQMac2’s intuitive interface and real-time visual feedback on frequency changes, you can finely tune each band to achieve the desired sound profile.
It even allows you to save customized presets for quick access based on various musical genres or personal preferences. These third-party apps give you greater control over your Beats headphones’ audio output by offering extensive customization options beyond what is available in macOS settings alone.
Remember that while these apps enhance sound quality and provide additional features, personal preference plays a significant role in determining which one suits you best. Experiment with different apps and settings to find the combination that delivers the most satisfying audio experience for your Beats headphones on your MacBook.
Tips for Optimal Audio Experience
Adjusting volume levels and sound preferences to personal preference
When it comes to enjoying your favorite music or immersing yourself in a captivating movie, getting the perfect audio experience is crucial. One way to achieve this is by adjusting the volume levels and sound preferences on your MacBook while using Beats headphones. To start, you can fine-tune the audio output by clicking on the volume icon located on the menu bar.
From there, you can easily adjust the volume level to your liking, whether you prefer a soft and mellow ambiance or a booming, energetic vibe. Furthermore, taking advantage of sound preferences can make a significant difference in your audio quality.
You can access these settings by opening “System Preferences” on your MacBook and selecting “Sound.” Here, you’ll find various options to customize your audio experience further. For instance, you can adjust bass and treble levels, enable sound enhancements like virtual surround sound or room correction, and even choose different equalizer presets that suit specific genres of music.
Maintaining firmware updates for both Beats headphones
Another essential aspect of optimizing your audio experience is ensuring that both Beats headphones and your MacBook’s firmware are up-to-date. Firmware updates often include bug fixes as well as improvements in performance and compatibility with newer devices. To check for firmware updates for your Beats headphones, visit the official Beats website or use their dedicated app if available.
For MacBook users, keeping macOS up-to-date will ensure optimal functionality with various devices. Apple regularly releases software updates that address potential issues and provide enhanced features for their products.
To check for macOS updates, click on the Apple menu icon in the top-left corner of your screen and select “System Preferences.” Then choose “Software Update” to see if any updates are available. By regularly updating both your headphones’ firmware and MacBook’s software, you can further enhance the audio experience and take advantage of the latest advancements in connectivity and audio performance.
Conclusion
Connecting your Beats headphones to your MacBook opens up a world of immersive audio experiences. Whether you prefer a wireless connection via Bluetooth or a wired connection using an audio cable, the process is relatively straightforward.
By following the outlined steps in this guide, you can seamlessly connect your Beats headphones to your MacBook and enjoy high-quality sound. Remember to adjust volume levels and sound preferences on your MacBook to tailor the audio experience to your personal taste.
Fine-tuning these settings allows you to create an atmosphere that truly resonates with you, whether it’s for music, movies, or any other form of media. Don’t forget to keep both your Beats headphones’ firmware and MacBook’s software up-to-date.
Regular updates ensure optimal compatibility and performance between devices. With these tips in mind, embrace the power of connecting your Beats headphones to your MacBook and immerse yourself in a world of rich audio that elevates every listening experience.