Having trouble with your headphones constantly disconnecting? This article provides troubleshooting tips and fixes for common issues with gaming headsets, AirPods connectivity problems, and wireless headphones. Whether it’s static signal interference, background noise, headphone connectivity other issues, we’ve got you covered with solutions to keep your audio experience seamless.
Key Takeaways
- Both headset and controller drivers can be automatically updated, but you may have to do so manually.
- Your sound settings may need to be adjusted if there’s an incorrect setting.
- A complete console restart may jumpstart wireless over-ear or earbud headphones.
- Sometimes, even the best gaming headset will still struggle with connection, especially with wireless dongles involved.
- Check your automatic driver update settings and adjust sound settings for better performance.
Troubleshooting Tips for Gaming Headsets
Check Your Automatic Driver Update Settings
Ensuring your gaming headset’s drivers are up-to-date is crucial for optimal performance. Automatic driver updates can sometimes be more of a hindrance than a help, especially if they disrupt your gaming experience by introducing new bugs or compatibility issues. To maintain control over your system’s drivers, you might consider disabling automatic updates and opting for manual installations.
To disable automatic updates on Windows 10, follow these steps:
- Click Start -> Settings -> System.
- Navigate to ‘About’ and then ‘Advanced system settings’.
- Under ‘Hardware’, click on ‘Device Installation Settings’.
- Choose ‘No’ to prevent the automatic downloading of manufacturer apps and custom icons.
After disabling automatic updates, you can manually check for driver updates on the manufacturer’s website or use dedicated software provided with your headset, like AMD Ryzen or DualShock 4 utilities. Remember to restart your computer after any driver installation to ensure changes take effect. If you’re unsure about the process, refer to the device manual or seek guidance from the manufacturer’s support page.
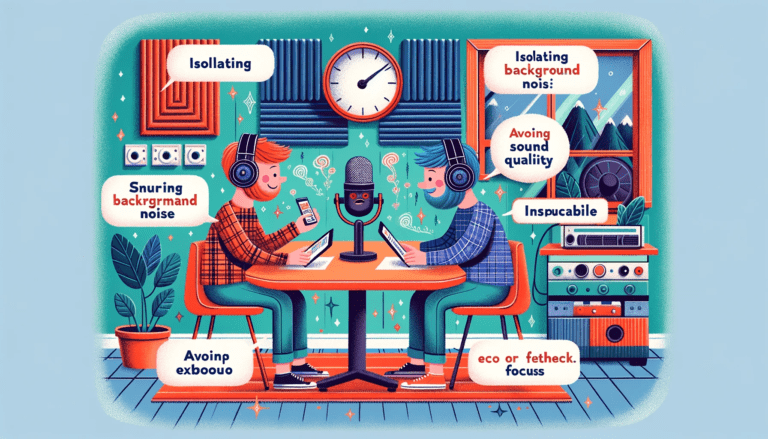
How to Get Rid of Background Noise on a Gaming Headset
Background noise can significantly affect your gaming experience, especially when it comes to clear communication with teammates. Reducing this noise is crucial for high-quality audio and can be achieved through several methods. Here are some tips to help you minimize unwanted sounds:
- Get close to the mic: This ensures your voice is the primary sound being picked up.
- Use pop filters: These can help block out plosives that cause peaks in audio.
- Find a sturdy mic stand: It reduces the chances of the mic picking up vibrations.
- Opt for dynamic mics in noisy environments: They are better at isolating sound.
- Use clean electrical sources: This prevents electrical interference in the audio.
Additionally, using a headset with a boom microphone can isolate background noise and prevent audio leakage. If you’re experiencing static or other persistent noise issues, checking for network problems can also be beneficial. An unstable network might cause audio drops, so ensure your connection is stable. If the issue persists when others mute themselves, it could be related to the audio peripherals. Narrowing down the issue to a specific location or network segment can help in identifying the root cause.
How to Fix Static in a Gaming Headset
Static noise in gaming headsets can be a significant annoyance, especially when it disrupts your gaming experience. One common cause of static is outdated or corrupted audio drivers. Updating or reinstalling your audio drivers can often resolve this issue. Here’s a simple guide to help you eliminate static noise:
- Method 1: Update or reinstall audio drivers through your computer’s device manager or the headset manufacturer’s website.
- Method 2: Inspect your cable or audio jack for any signs of damage or loose connections and replace if necessary.
- Method 3: Reset your headset to its factory settings, as this can sometimes clear up any static issues.
- Method 4: If you’re using a wireless headset, ensure that the charging port is clean and the headset is fully charged.
Remember, static can also be caused by interference from wireless speakers and other electronic devices. Keep your gaming area free from unnecessary wireless gadgets and ensure that your headset’s firmware is up to date. If these steps don’t help, it might be time to consult with the manufacturer for further assistance or consider a replacement if your headset is still under warranty.
How to Fix the Charging Port for a Gaming Headset that is Wireless
When your wireless gaming headset isn’t charging properly, it can be due to various issues with the charging port. Firstly, ensure that the charging cable is securely connected and that the port is clean and free from debris. Dirt and lint can accumulate and obstruct the connection, so gently cleaning the port with a toothpick or a small brush can help.
If the issue persists, try the following steps:
- Switch to a Different Outlet to determine if the problem lies with your socket or adapter.
- Reposition the charging case on the charger to ensure proper contact.
- Check for any visible damage to the charging port that might require professional repair.
Should these steps not resolve the issue, consider using a different charging cable or case. If all else fails, the charging port itself may be faulty and in need of replacement.
How to Control Pops on a Gaming Headset
Popping sounds in gaming headsets can be a distracting issue for any gamer. One common solution is to update your PC’s drivers, which can often resolve the problem. If you’re experiencing these audio pops, follow these steps:
- Go to your Control Panel and navigate to the ‘Sound’ settings.
- Check your equalizer settings for any anomalies and adjust them accordingly.
- Ensure that your headset’s firmware is up to date by visiting the manufacturer’s website.
In some cases, the issue may be related to power settings. Adjusting these settings can sometimes eliminate unwanted noise. Remember, consistent pops may also indicate a hardware problem, in which case you might need to consult with the manufacturer for a repair or replacement.
Fixing AirPods Connectivity Issues
Battery Life
One of the most common reasons for headphones disconnecting is battery life degradation. Over time, the battery capacity of AirPods diminishes, leading to shorter usage periods between charges. Initially, AirPods offer up to five hours of listening time, but this battery percentage can decrease significantly with regular use.
To address this issue, follow these steps:
- Step 1: Verify that Automatic Ear Detection is enabled to conserve battery when not in use.
- Step 2: If the problem persists, consider resetting your AirPods as a last resort.
Additionally, ensure your iOS device is up to date, as software updates can resolve various connectivity issues. If you’re still facing a dramatically shorter battery life than expected, it may be time to consult with Apple support or consider a battery replacement.
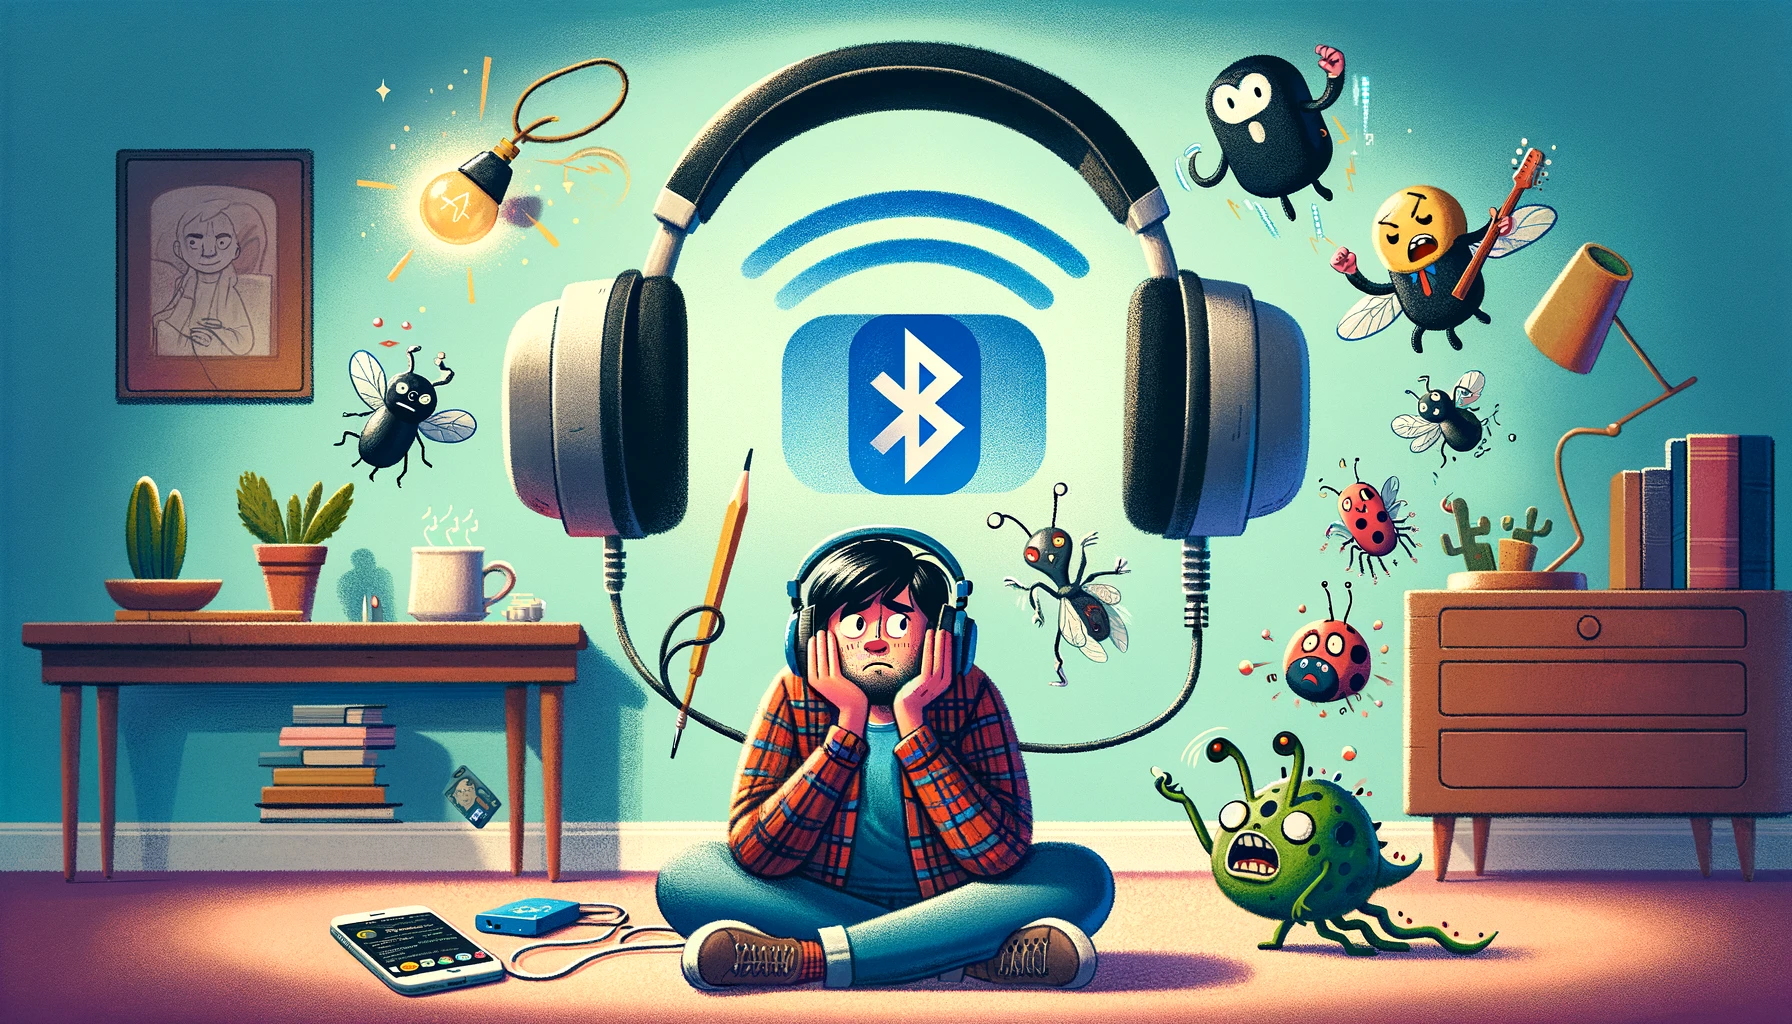
Bluetooth Interference
Bluetooth interference can be a common culprit behind connectivity issues with wireless headphones like AirPods. Devices with Bluetooth capabilities can sometimes interfere with each other wireless signals, especially when they are nearby. For instance, if your AirPods are near a Wi-Fi router, the signal may be disrupted, leading to connection problems.
To address this, try moving your AirPods away from other electronic devices to a location with less potential for interference. Additionally, ensure that your device’s Bluetooth settings are correctly configured by checking the control panel and following any on-screen troubleshooting instructions. Disconnecting android phone and reconnecting your headphones can also help re-establish a stable connection.
In some cases, other devices with Bluetooth may also affect the connection. If you have multiple devices with Bluetooth enabled, consider disabling the Bluetooth on the devices you are not actively using to prevent them from interfering with your AirPods.
Wrong Version of iOS
Having the wrong version of iOS can lead to connectivity issues with other wireless gadgets and your AirPods. Apple frequently releases updates that can improve the stability and performance of your mobile devices throughout, including your AirPods. To ensure optimal performance, it’s crucial to keep your iOS device updated to the latest version.
To check and update your iOS version, follow these steps:
- Open the Settings app on your iPhone.
- Tap General.
- Select Software Update.
- If an update is available, tap Download and Install.
Remember, AirPods Pro (2nd generation) requires iOS 16 or later, which is only available on iPhone 8 and newer models. If you’re using an older iPhone model, you may need to upgrade your device to maintain compatibility with the latest AirPods.
How to Fix a Gaming Headset Mic
If you’re experiencing issues with your gaming headset mic being too sensitive, distorted, or producing a buzzing sound, there are several steps you can take to resolve the problem. First, ensure that your headset is properly connected to your device. A loose connection can often cause sound quality issues.
Next, adjust your sound settings to optimize microphone performance. Here’s a quick guide:
- Right-click on the speaker icon on the System tray.
- Select “Open Sound settings“.
- Under “Related Settings”, click “Sound Control Panel”.
- Go through the settings to ensure your microphone levels are correctly adjusted.
It’s also important to check for any automatic driver updates that may be affecting your headset’s performance. If necessary, update your drivers manually to ensure compatibility and optimal functioning. Remember, a complete console restart can sometimes resolve connectivity issues that might be impacting your mic’s performance.
How to Repair a Gaming Headset
Repairing a gaming headset can be a straightforward process if you know what to look for. First, identify the issue; is it a broken cord, a malfunctioning microphone, or a software problem? Once you’ve pinpointed the problem, you can take the appropriate steps to fix it.
For hardware issues like a frayed cord or a broken headband, you might need some basic soldering skills or replacement parts. Here’s a simple list of steps you could follow:
- Inspect the headset for visible damage.
- If the cord is frayed, consider using electrical tape for a quick fix or soldering for a more permanent solution.
- For a broken headband, check if the manufacturer offers replacement parts.
- If the microphone isn’t working, ensure it’s not muted and check the connection.
Software issues often require a different approach. Make sure your headset’s drivers are up to date, and check the sound settings on your gaming console or PC. Sometimes, a simple restart of the device can resolve audio connectivity problems. If you’re still experiencing issues, you may need to consult the manufacturer’s support or consider professional repair services.
Common Problems with Wireless Headphones
Low Battery
One of the most common reasons for headphones to keep disconnecting is a low battery. When the power levels drop too low, your device may not have enough energy to maintain a stable connection, leading to frequent disconnections. To troubleshoot this, follow these steps:
- Step 1: Check the battery level of your headphones. If they’re low, place them in their charging case or connect them to a power source.
- Step 2: If your device has an Automatic Ear Detection feature or a similar power-saving mode, ensure it’s activated to conserve battery life when not in use.
- Step 3: For devices that are still experiencing short battery life despite these measures, consider performing a full reset or updating the firmware, as these actions can sometimes resolve underlying software issues affecting battery performance.
Remember, battery life can degrade over time, so if you’re noticing a significantly shorter lifespan of connected device than expected, it may be time to consider a replacement. Additionally, keeping your headphones and their charging case clean can prevent charging issues that may mimic the symptoms of a low battery.
Incorrect Sound Settings
Incorrect sound settings can often lead to your headphones disconnecting or not functioning properly. Ensure that your device’s audio settings are configured correctly for your headphones. This includes setting the correct default playback and recording devices, as well as power management settings such as adjusting volume levels to your preference.
To set a default recording device and check volume settings, follow these steps:
- Right-click the Volume icon in the notification area (bottom-right corner) and select ‘Recording devices’.
- Select the recording device you wish to use and click ‘Set Default’.
- Click ‘OK’.
- Adjust the volume by clicking the Volume icon in the notification area.
Additionally, check the settings in any voice communication apps you use to ensure the correct microphone and speaker are selected. On Mac computers, navigate to System Preferences > Sound > Input and uncheck the ‘Use ambient noise reduction’ box if available. By taking these steps, you can often resolve issues related to incorrect sound settings.
Complete Console Restart
A complete console restart can be a simple yet effective solution when your wireless headphones keep disconnecting. This process closes all running applications and services, clearing the memory (RAM) of android device and shutting down any errant processes that may be causing connectivity issues with your headphones.
Before initiating a restart, it’s important to save any unsaved work and bookmark open web pages to avoid data loss. Here are the steps to perform a proper restart:
- Save and close all open documents and applications.
- Restart your computer or console.
- If available, run built-in diagnostics to check for hardware issues.
- Once the system reboots, try connecting your headphones again.
Remember, a restart is different from a factory reset, which erases all data on your computer. Always back up important files before considering a factory reset as a last resort.
Why do I have to Install a Driver for My Gaming Headset?
Drivers are essential for your gaming headset to communicate effectively with your gaming console or PC. They translate the complex digital signals into audio that you can hear. Without the correct driver, your headset may not function properly or disconnect frequently.
To ensure optimal performance, follow these steps:
- Check if your headset’s software is up to date. Some headsets have built-in programs that require manual updates.
- Visit the device manufacturer’s website for the latest driver updates if automatic updates are not available.
- Adjust your sound settings, as incorrect configurations can lead to disconnections.
Remember, a complete console restart can sometimes resolve connectivity issues if all else fails. Keeping your drivers current is crucial for maintaining a seamless gaming experience.
How to Fix the Cord on a Gaming Headset
A common issue with gaming headsets is the cord becoming frayed or damaged, leading to disconnections or audio loss. Repairing the cord on a gaming headset can be a simple process, depending on the extent of the damage. Here are some steps to help you fix the cord on your gaming headset:
- Inspect the cord for any visible signs of wear or damage.
- Locate the exact area where the cord is damaged.
- If the damage is near the jack, consider replacing the jack by soldering a new one.
- For damage along the cord, use electrical tape to insulate any exposed wires.
- If the cord is severely damaged, replacement may be necessary. Look for a compatible replacement cord online or contact the manufacturer.
If you’re looking to upgrade your experience, consider transforming your wired headset to a wireless audio setup. Affordable Bluetooth adapters are available that can easily pair wired headphones with your device, offering a seamless audio experience for music and calls. Embrace the wireless revolution and say goodbye to cord issues for good.
Conclusion
In conclusion, troubleshooting issues with headphones, whether wired or with wireless devices, can be frustrating but manageable. By following the troubleshooting tips provided in this article, you can identify the reasons why your headphones keep disconnecting and learn how to fix them.
Remember to check connected devices for Bluetooth interference, battery life, and software updates as common culprits. Additionally, adjusting sound settings and restarting your devices can often resolve connectivity issues.
Stay informed and proactive in maintaining your headphones to ensure a seamless audio experience. For more in-depth guides and tips on headphone maintenance, refer to our recommended resources and articles. Happy listening!
Frequently Asked Questions
Why do my headphones keep disconnecting?
Headphones may keep disconnecting due to low battery, Bluetooth interference, or software issues. Try charging your bluetooth headphones first, checking for interference, and updating your device’s software.
How can I fix static in my headphones?
To fix static in headphones, try cleaning the headphone jack, using a different audio source, or adjusting the volume levels. You can also check for loose connections or damaged cables.
Why do I hear background noise in my headphones?
Background noise in headphones may be caused by a poor audio source, interference, or a faulty connection not all headphones. Ensure your audio source is clear, minimize interference, and check for any loose connections.
Why is there only audio on one side of my headphones?
One-sided audio in headphones can be due to a damaged cable, audio balance settings, or a faulty headphone jack. Try testing the headphones on another device, adjusting the balance settings, or checking the cable for any issues.
How do I improve the battery life of my wireless headphones?
To improve the battery life of wireless headphones, try reducing the volume, turning off unnecessary features, and properly storing and charging the headphones. Avoid overcharging and excessive use to prolong battery life.
What should I do if my headphones are not connecting to my device?
If headphones are not connecting to your device, try resetting the Bluetooth connection, updating the device software, or checking faulty headphones for any physical damage. Ensure the headphones are in pairing mode and compatible with your device