Do you ever find yourself entangled in a web of headphone wires? You know, those frustrating moments where you reach into your bag or pocket to pull out your headphones, only to find them knotted beyond recognition?
It’s enough to make you want to scream into the void! We’ve all been there, and it’s time to put an end to this tangled torment.
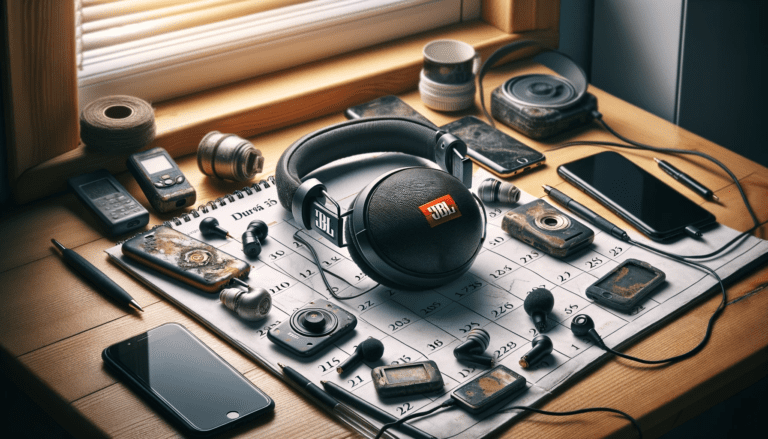
The frustration of tangled and broken headphone wires
Let’s face it: tangled and broken headphone wires are the bane of every music lover’s existence. They seem to have a mind of their own, twisting themselves into knots that would make a sailor blush.
Whether they get caught on doorknobs as you pass by or decide to play hide-and-seek within your backpack, these pesky wires can drive even the most patient person up the wall. To add insult to injury, broken headphone wires can also disrupt our musical bliss.
Just imagine this: you’re in the middle of a soul-stirring guitar solo or a heart-pounding bassline when suddenly, crackle… silence. The euphoria dissipates as quickly as it arrived, leaving you feeling frustrated and longing for uninterrupted melodies.
The importance of fixing them to enjoy uninterrupted music
But fear not! There is light at the end of this tangled tunnel. By learning how to fix your headphone wires with a bit of patience and know-how, you can reclaim your musical nirvana once again.
No more interruptions or frustrating tangles – just pure auditory pleasure. Fixing those pesky wires isn’t just about untangling knots; it goes far deeper than that.
It’s about preserving the integrity of our beloved headphones and ensuring they deliver high-quality sound for years to come. When we take care of our wires, we’re essentially safeguarding our listening experience, allowing us to soak in the melodies without any annoying static or dropouts.
So, my friends, let’s embark on this journey together. In the following sections, we’ll explore common headphone wire issues and how to fix them.
We’ll delve into the tools you’ll need to become a DIY wire wizard and uncover step-by-step instructions for tackling frayed wires, unruly tangles, and loose connections. By the end of this article, you’ll have all the knowledge necessary to restore your beloved headphones to their former glory.
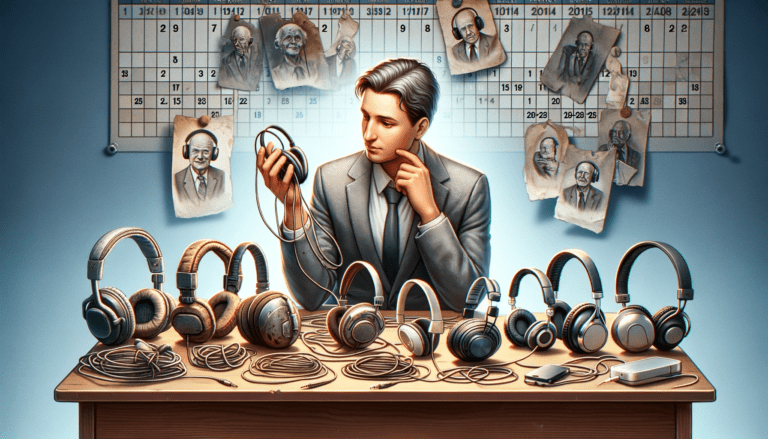
Understanding the Common Issues with Headphone Wires
Identifying common problems like fraying, tangling, or loose connections
When it comes to headphone wires, there are a few common issues that can drive you up the wall. One of the most annoying problems is fraying. Over time, constant use and bending can cause the protective covering of the wires to wear away, leaving them vulnerable to damage.
Another headache-inducing issue is tangling. We’ve all experienced that frustrating moment when we pull out our headphones from our bag or pocket only to find them in a jumbled mess resembling a cat’s cradle.
Loose connections can be a major buzzkill (pun intended). If you notice your music cutting in and out or only playing on one side, chances are you have a loose connection somewhere along the line.
Exploring the impact of these issues on sound quality and durability
Now that we’ve identified these common problems, it’s important to understand how they affect your listening experience and headphones’ lifespan. Let’s start with fraying wires. When wires become frayed, it exposes the delicate inner copper strands, which can lead to poor audio quality and even complete signal loss if left untreated.
Frayed wires are also more prone to breakage with continued use due to their weakened structure. Tangled headphone wires may not directly affect sound quality but they certainly impact convenience and durability.
Constantly untangling knots puts unnecessary stress on the wires and increases the chances of them getting damaged or breaking altogether. Plus, untangling those stubborn knots can be an exercise in patience that nobody has time for!
Loose connections are perhaps one of the most frustrating issues as they directly affect sound quality. When there’s a loose connection between your headphones’ wire and audio device or within the earpiece itself, you might experience crackling sounds, one-sided audio, or complete silence.
Not only does this disrupt your musical enjoyment, but it can also lead to a prematurely shortened lifespan for your headphones if not addressed promptly. These common issues with headphone wires – fraying, tangling, and loose connections – can significantly impact both sound quality and the overall durability of your headphones.
It’s essential to address these problems promptly to prevent further damage and ensure uninterrupted listening pleasure. In the following sections, we will delve into various methods to fix these issues step-by-step so that you can revive your headphones and enjoy music without any interruptions.
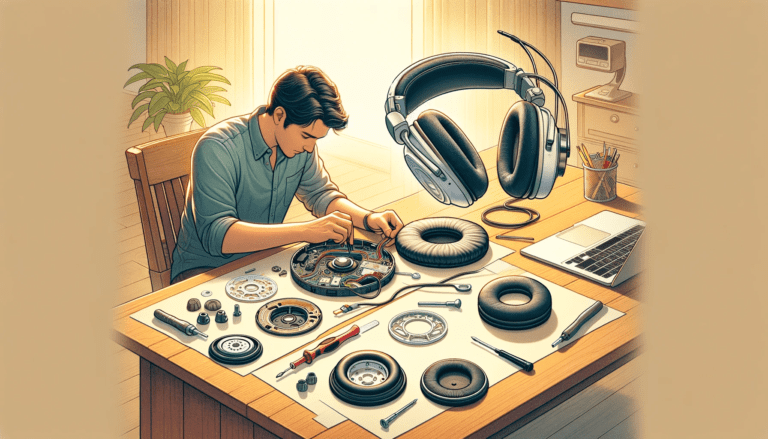
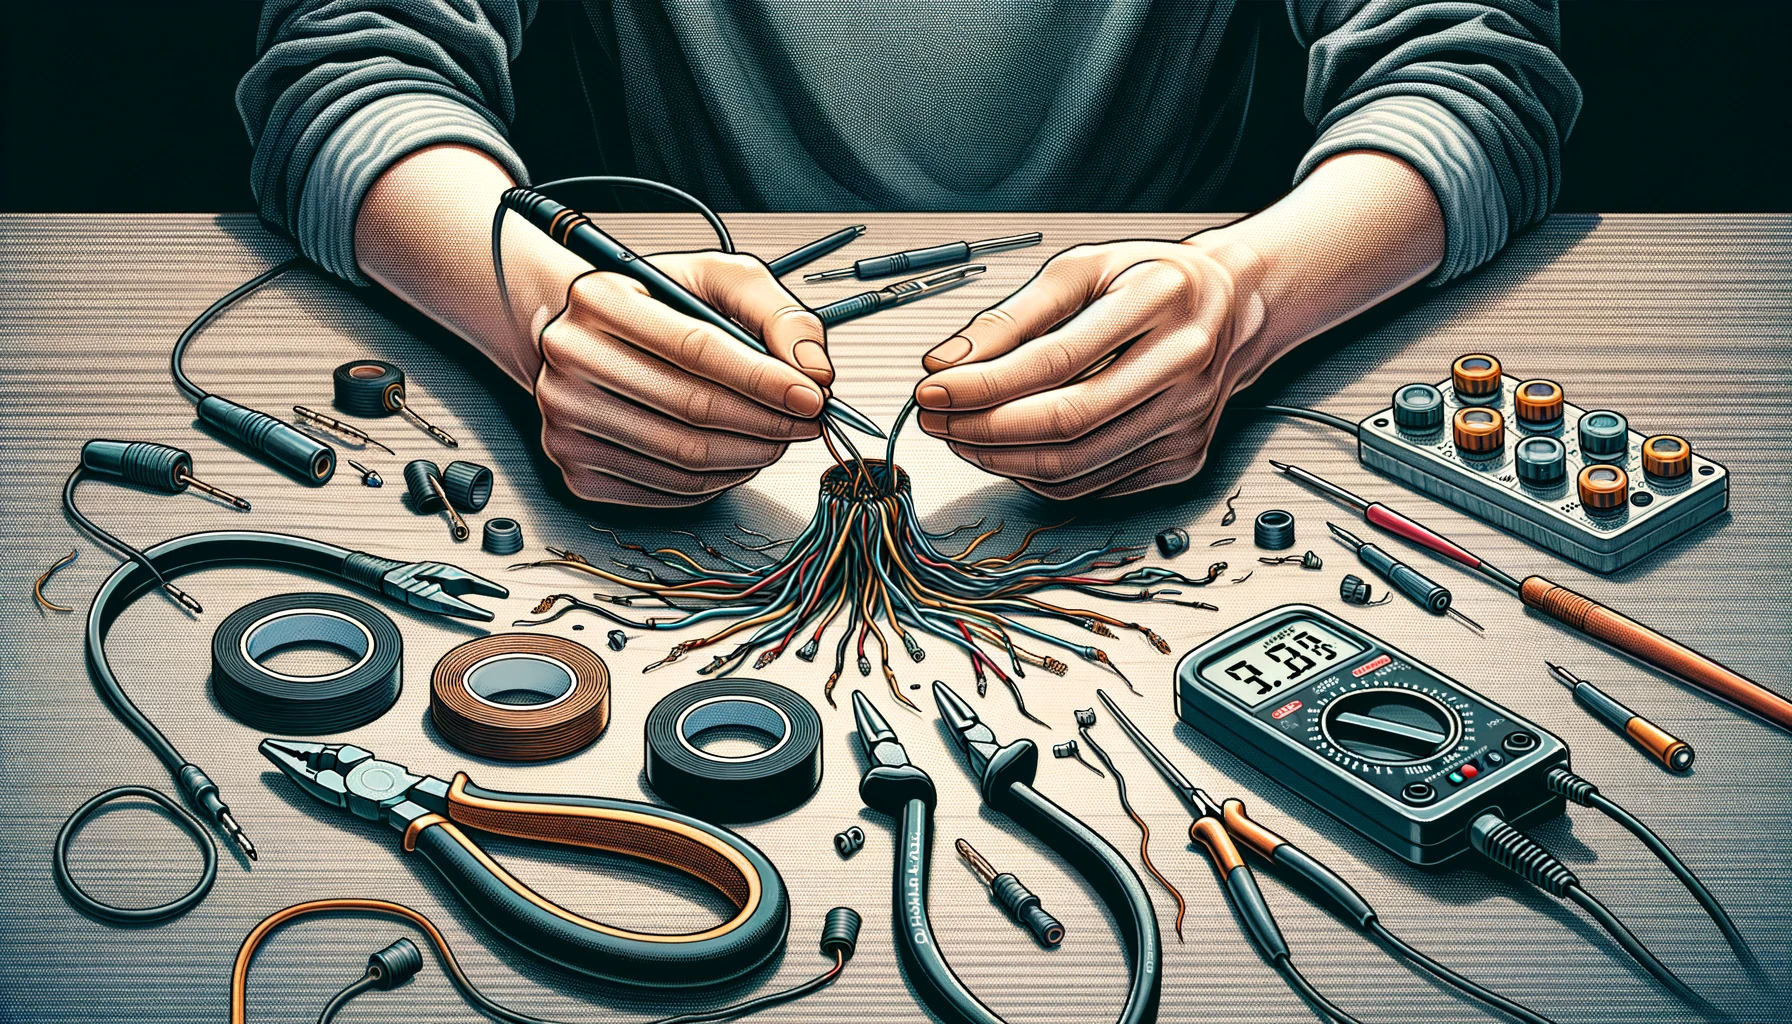
Basic Tools You’ll Need (The Must-Haves)
Needle-nose pliers: Perfect for delicate wire manipulation
When it comes to fixing headphone wires, a pair of trusty needle-nose pliers is your best friend. These slender and versatile tools are designed for delicate tasks, making them perfect for the intricate work required to fix headphone wires.
The long, narrow jaws allow you to grip small components with precision and ease. Whether you’re straightening out a bent wire or reconnecting loose connections, needle-nose pliers provide the dexterity needed to handle these tasks without causing further damage.
Electrical tape: Essential for securing connections and preventing further damage
If there’s one tool that every DIY enthusiast should have in their toolkit, it’s electrical tape. This stretchy, adhesive tape is essential when it comes to securing your headphone wire connections and preventing any future mishaps.
It provides a strong yet flexible hold that can withstand everyday wear and tear. When fixing frayed wires or reconnecting loose ends, electrical tape serves as a protective barrier against moisture and prevents exposed wires from coming into contact with each other or external objects.
Heat shrink tubing: Ideal for insulating exposed wires
Another essential tool in your arsenal when repairing headphone wires is heat shrink tubing. This clever invention offers an effective way to insulate exposed wires and provide additional protection against damage. Made from a flexible polymer material that shrinks when heated, heat shrink tubing creates a snug fit around the repaired area of your headphone wire after applying heat from a hairdryer or heat gun.
This insulation prevents short circuits caused by accidental contact between bare wires while also adding strength to the repaired section. Ensuring you have these basic tools readily available before attempting any repairs will save you time and frustration along the way.
With needle-nose pliers for delicate wire manipulation, electrical tape for securing connections, and heat shrink tubing for insulating exposed wires, you’ll be well-equipped to tackle any headphone wire issue that comes your way. Let’s now move on to the practical techniques involved in fixing frayed wires, untangling messy wires, and addressing loose connections.
Fixing Frayed Wires (The Quick Fix)
Locating the frayed area by gently bending the wire along its length
When it comes to fixing frayed headphone wires, the first step is identifying the exact location of the damage. Gently bend the wire along its length, feeling for any areas that seem weaker or where there might be a break.
Usually, you’ll notice a spot where the wire bends too easily or feels rough to touch. This is likely where it’s frayed or damaged.
Cutting out the damaged section using sharp scissors or wire cutters
Once you’ve located the frayed portion, it’s time to take action and remove it. Grab a pair of sharp scissors or wire cutters — whatever you have on hand — and carefully cut out that damaged section. Ensure you cut away enough length so that you have some healthy wire left for splicing.
Stripping the insulation from both ends of the remaining wire using a wire stripper tool
Now that you’ve removed the problem area, it’s time to expose some fresh copper to work with. Take your trusty wire stripper tool (if available) and gently strip about half an inch of insulation from both ends of the remaining intact wire. Be cautious not to nick or damage any of those tiny wires inside.
Twisting together the exposed copper wires and covering them with electrical tape
With both ends stripped, align them together so that their bare copper wires are touching each other. Now comes an important step: twist those exposed copper strands tightly together, ensuring a solid connection is made. Once they’re secure and snugly twisted, grab your roll of trusty electrical tape and wrap it around those exposed connections several times for added protection against future wear and tear.
Remember, this quick fix should be seen as a temporary solution until you have the opportunity to properly solder the wires for a more robust repair. However, if done carefully and securely, this method can provide you with functional headphones to enjoy your favorite tunes without any annoying interruptions.
Untangling a Messy Wire (The Patient Approach)
Gently separating the tangled mess by untwisting knots manually
When faced with a tangled mess of headphone wires, it’s important to approach the situation with patience and care. Trying to hastily pull the wires apart can result in further entanglement or even breakage.
Instead, take a deep breath and start by gently examining the knots. Using your fingers, slowly and delicately begin untwisting each knot one by one.
The key here is to avoid applying excessive force that could damage the wires. Take your time and work through the tangles methodically.
If you encounter stubborn knots that refuse to budge, try using a pair of small tweezers or even a pin to help tease out any tight spots. But remember, always handle with care to prevent any accidental tears or breaks.
Using a hairdryer on low heat to soften any knots that are difficult to untangle
Sometimes, no matter how patiently you try untangling those pesky knots, they simply won’t yield. In such cases, using heat can be your secret weapon! Grab your trusty hairdryer and set it on low heat mode.
Hold the hairdryer about 6 inches away from the tangled wires and gently apply heat while continuing to separate any accessible sections. The warm air will help loosen stubborn knots, making them more pliable and easier to unravel.
Be cautious not to expose the wires directly in front of high heat as this may cause damage; use low heat only. It’s important not to rush this step – give the heat enough time to work its magic before proceeding further.
Reorganizing and straightening out each individual wire strand
Once you’ve successfully unraveled most of the knot, it’s time for meticulous reorganization! Lay the wires on a flat surface and identify each individual strand.
Using your fingers or a small comb, gently straighten out each wire one by one. This step is crucial to ensure that the wires are untwisted and free from any kinks or bends.
As you work through this process, take note of any damaged sections, such as exposed copper wires or frayed insulation. Make sure to mark these areas for later repair.
Remember, a well-organized and straightened wire not only improves functionality but also reduces the chances of future tangling. By patiently untangling knots manually, using low heat from a hairdryer to soften stubborn tangles, and reorganizing and straightening out each wire strand carefully, you’ll be well on your way to fixing those messy headphone wires.
Keep in mind that taking your time during this process will yield better results than rushing through it. With these patient techniques, you can restore order to your headphones and get back to enjoying your favorite tunes without any frustrating interruptions!
Fixing Loose Connections (The Precision Game)
A. Inspecting both ends of the headphone wires for loose connections
When dealing with headphone wires, one of the most common issues is a loose connection. Before jumping into any repairs, it’s crucial to inspect both ends of the wire carefully. Start by gently wiggling the connection points where the wire meets the audio jack and earbuds. If you notice any movement or if the sound cuts in and out when you manipulate these points, then you’ve likely found a loose connection.
Next, take a closer look at the connectors themselves. Check for any visible signs of damage or corrosion that may be causing poor connectivity. Sometimes, a simple cleaning with a cotton swab dipped in rubbing alcohol can do wonders to restore proper contact.
B. Soldering technique explained in detail, including necessary precautions
Soldering is an essential skill when it comes to fixing loose connections in headphone wires. It involves melting a metal alloy (solder) onto two pieces of metal to create a secure bond. However, before diving into soldering, make sure you have gathered all necessary precautions. First and foremost, ensure you are working in a well-ventilated area as solder fumes can be harmful when inhaled excessively. Additionally, always wear safety goggles to protect your eyes from potential splatters or sparks during soldering.
To begin soldering, heat your soldering iron until it reaches its optimal temperature (typically between 300-400 degrees Celsius). Then apply flux—a chemical agent that helps facilitate metal bonding—to both the exposed wire and connector terminal. Once everything is adequately prepped, bring the soldering iron tip into contact with both surfaces simultaneously for about three seconds before applying melted solder evenly over them. Remember not to over-solder as excessive amounts can create unwanted blobs or bridges between neighboring wire strands, leading to further connectivity issues.
Applying heat shrink tubing over soldered connections for added protection
After successfully soldering the loose connection, it’s time to reinforce and protect it using heat shrink tubing. This handy tool slides over the soldered area and, when heated, shrinks down tightly to provide insulation and strain relief. To apply heat shrink tubing, select a size that matches the diameter of your headphone wire. Cut a section slightly longer than the soldered connection area.
Slide the tubing over one end of the wire before rejoining both ends securely with electrical tape or twist-on connectors. Then use a heat source, such as a hairdryer or heat gun on low setting, to evenly apply heat along the entire length of the tubing until it shrinks tight around the connection. The heat shrink tubing not only insulates against potential short circuits but also adds an extra layer of protection against bending stress and tugging that can lead to future loose connections.
By meticulously inspecting for loose connections, mastering proper soldering techniques with necessary precautions, and applying protective measures like heat shrink tubing, you can ensure long-lasting repairs for your headphone wires. Don’t let those frustrating audio interruptions dampen your music experience—take charge and fix those wires with precision!
Extending Headphone Wire Lifespan (The Preventive Measures)
Keeping Your Wires Tangle-Free
Tangles can cause unnecessary strain on your headphone wires, leading to fraying and breakage. To prevent tangles, consider investing in a cable management system or simply a small cable organizer.
This will keep your wires neatly coiled when not in use, reducing the chances of them getting tangled with other items. Additionally, try to avoid twisting or bending the wires excessively while using your headphones.
Avoiding Extreme Temperatures
Extreme temperatures can be detrimental to your headphone wires’ longevity. Exposing them to excessive heat or cold over long periods can weaken their structure and eventually lead to damage.
Therefore, it’s wise to store your headphones in a cool and dry place when you’re not using them. Avoid leaving them in direct sunlight or subjecting them to extreme temperature fluctuations.
Proper Handling and Storage
How you handle and store your headphones when they are not in use plays a crucial role in extending their lifespan. Always unplug the headphone jack by gently pulling it from the connector instead of yanking on the wire itself.
When storing your headphones, make sure they are neatly coiled or rolled up without any tight bends that could strain the wiring inside. Consider using a protective case or pouch specifically designed for headphone storage to provide an added layer of protection.
Frequent Cleaning
Regularly cleaning your headphone wires can help prevent dirt, dust, and debris from accumulating and potentially causing damage over time. Use a soft cloth or cotton swab lightly dampened with isopropyl alcohol to gently wipe down the wire’s surface.
Be careful not to apply excessive pressure that may deform or bend the wire while cleaning.
Conclusion
Taking proper care of your headphone wires is essential to ensure their longevity and uninterrupted sound quality. By implementing the preventive measures outlined above, such as keeping your wires tangle-free, avoiding extreme temperatures, handling and storing them properly, and frequent cleaning, you can extend the lifespan of your headphones significantly.
Remember, a little effort goes a long way in ensuring that you can continue enjoying your favorite tunes without worrying about frayed or broken wires. So embrace these practices and let your music journey be filled with uninterrupted melodies for years to come!