Are your favorite headphones not providing the comfort they used to? Wondering how to breathe new life into your cherished audio companion? You’re not alone in this quest! Replacing headphone pads isn’t just about comfort; it’s about preserving the sound quality and extending the life of your headphones.
In this quick guide, we dive into the simple yet effective steps to replace your headphone pads. This process involves selecting the right pads for your model, carefully removing the old ones, and securing the new pads for an optimal audio experience. With the right tools and a bit of patience, you’ll find the transformation both satisfying and straightforward.
But the journey doesn’t end here. We’ve consulted audio experts and seasoned audiophiles to bring you insider tips and tricks that make a world of difference. Ready to unlock the full potential of your headphones? Let’s get started on this path to enhanced audio and comfort!
The Unsung Heroes: Headphone Pads
Headphone pads, those cushy little wonders that rest against your ears, serve a vital purpose beyond just being comfortable. They have a profound impact on both the comfort and sound quality of your headphones. Let’s delve into why they matter so much.
An Oasis of Comfort
Picture this: You’re enjoying an extended music session or catching up on your favorite podcast when suddenly discomfort sets in, and you find yourself adjusting your headphones constantly. The culprit?
Uncomfortable headphone pads. The primary function of headphone pads is to provide a cushion between your ears and the hard materials of the headphones’ speaker units.
Quality pads create a soft barrier that rests gently against your head, preventing any discomfort that may arise from prolonged wear. When properly fitted and adequately padded, they distribute pressure evenly around the ear area, reducing strain on sensitive points.
A Symphony for Your Ears
While comfort is critical for extended listening sessions, let’s not forget about sound quality! Headphone pads act as acoustic filters that help optimize audio performance by creating an ideal seal around your ears. This seal prevents sound leakage while effectively isolating external noise – allowing you to fully immerse yourself in what you’re listening to without distractions.
Moreover, high-quality headphone pads can enhance bass response by providing an adequate seal that keeps low-frequency sound waves intact. This ensures a richer and more defined audio experience, allowing you to appreciate the full spectrum of your favorite music genres.
So, don’t underestimate the power of these seemingly innocuous accessories. The right pair of headphone pads can be the difference between a comfortable, immersive listening experience and one that leaves you fidgeting and missing out on the true depth of sound.
Overview of Headphone Pads
Types of Materials Used
When it comes to headphone pads, manufacturers utilize a variety of materials to cater to different preferences and needs. The most common materials used for headphone pads are foam, leather, and velour. Each material offers unique characteristics that can significantly impact your listening experience.
Foam: Foam pads are a popular choice due to their softness and ability to conform to the shape of your ears. They provide a good balance between comfort and sound isolation, helping to block out external noise while keeping your ears cozy during those long listening sessions.
Leather: If you’re seeking a more luxurious feel, leather pads might be the right fit for you. Leather not only adds a touch of sophistication but also tends to be more durable compared to other materials.
Leather pads often enhance bass response and provide excellent sound isolation, making them ideal for audiophiles who appreciate deep, rich sound reproduction. Velour: For those who prioritize breathability and comfort above all else, velour pads come into play.
Velour is a plush fabric that feels gentle against the skin and allows air circulation around your ears, preventing discomfort caused by heat buildup during extended use. While providing less sound isolation than foam or leather, velour can contribute to an open soundstage perception.
Different Shapes and Sizes Available
Headphone pads are available in various shapes and sizes designed specifically for different headphone models. Oval-shaped earpads are commonly found on over-ear headphones as they tend to accommodate different ear shapes better than circular ones.
Circular earpads are often seen on on-ear headphones due to their compact size and ability to sit directly on the ears without fully covering them. These smaller earpads can offer portability advantages while sacrificing some degree of comfort when compared to their larger counterparts.
Moreover, some headphone pads come with angled designs, contouring to the natural shape of the ears for a better fit. Angled pads can enhance the listening experience by directing sound more accurately into the ear canal.
When selecting replacement pads, it’s crucial to ensure compatibility with your specific headphone model. Manufacturers often provide information regarding compatible earpad models for their headphones, so be sure to check their recommendations to guarantee a seamless fit and optimal performance.
By understanding the various materials and shapes available, you can make an informed decision when choosing replacement pads that align perfectly with your comfort preferences and sonic needs. Now that we’ve covered an overview of headphone pad options, let’s delve into recognizing when it’s time to replace them in the next section. You may read also How to Fix a Bent Headphone Jack
Signs that it’s time to replace headphone pads
Worn-out or flattened padding
When you’ve been using your favorite pair of headphones for a while, it’s natural for the padding to experience wear and tear. One of the most obvious signs that your headphone pads are due for replacement is when they start feeling flat and lose their plushness. Over time, the cushioning material inside the pads can become compressed and lose its ability to provide adequate comfort.
You may notice that your ears feel uncomfortable or sore after extended use, which can be a clear indication that it’s time for new pads. Another telltale sign of worn-out padding is when you begin to feel the hard components of your headphones pressing against your ears.
If you find yourself adjusting the position of your headphones frequently to relieve discomfort, chances are the pads have lost their cushioning capabilities. This can greatly impact your overall listening experience, as it distracts from the immersive sound quality that well-padded headphones offer.
Visible tears or cracks on the pads
Inspecting your headphone pads regularly allows you to catch any visible signs of damage early on. Cracked or torn pads not only compromise comfort but also impact sound quality by allowing sound leakage or unwanted external noise to enter.
It’s essential to examine both sides of each pad thoroughly. Small tears in leather or faux-leather materials can often be repaired temporarily with adhesive patches, but keep in mind that these fixes are not long-lasting solutions.
If you notice larger rips or cracks in the padding material, replacement is usually necessary. Neglecting this issue can worsen over time, leading to complete disintegration and rendering your headphones unusable.
Remember that keeping an eye out for these visual cues and promptly addressing them ensures that you continue enjoying superior audio quality without discomfort caused by damaged padding. Recognizing when it’s time to replace your headphone pads is crucial to maintaining optimal comfort and sound quality.
Worn-out or flattened padding is a clear indicator that the cushioning material has become compressed and no longer provides adequate support. Visible tears or cracks in the pads not only compromise comfort but also allow sound leakage or external noise interference.
Regularly inspecting your headphone pads will help you identify these signs early on, enabling you to take appropriate action such as replacing the pads promptly. By doing so, you can enhance your listening experience and extend the lifespan of your beloved headphones.
Tools needed for replacing headphone pads
A small screwdriver (if applicable)
Replacing headphone pads often requires removing the old ones, and in some cases, you may need a small screwdriver. Before starting the process, it’s essential to check if your headphones have a detachable pad secured with screws. If so, having a small screwdriver on hand will make the removal process easier.
Make sure to choose the right size of screwdriver that fits the screws snugly; using an ill-fitting tool can damage the screws or strip them. If your headphones don’t have detachable pads secured with screws, don’t worry!
Many models have snap-on or adhesive attachments that do not require any additional tools. In such cases, you can skip this step and move on to removing the old pads.
Replacement pads
To replace your headphone pads effectively, you’ll need suitable replacement pads. When choosing replacement pads, consider both comfort and sound quality. There are various materials available in the market, including foam, leather, and velour.
Foam pads offer good insulation against external noise and can provide a comfortable fit around your ears. Leather pads are known for their durability and luxurious feel but may slightly affect sound isolation.
Velour pads are breathable and excellent for prolonged use as they minimize heat buildup around your ears. It’s crucial to select replacement pads that are compatible with your specific headphone model.
Check online forums or consult customer support if you’re unsure about compatibility issues or need recommendations for compatible replacement options. Investing in high-quality replacement pads ensures enhanced listening experiences while maintaining optimum comfort levels during extended periods of use.
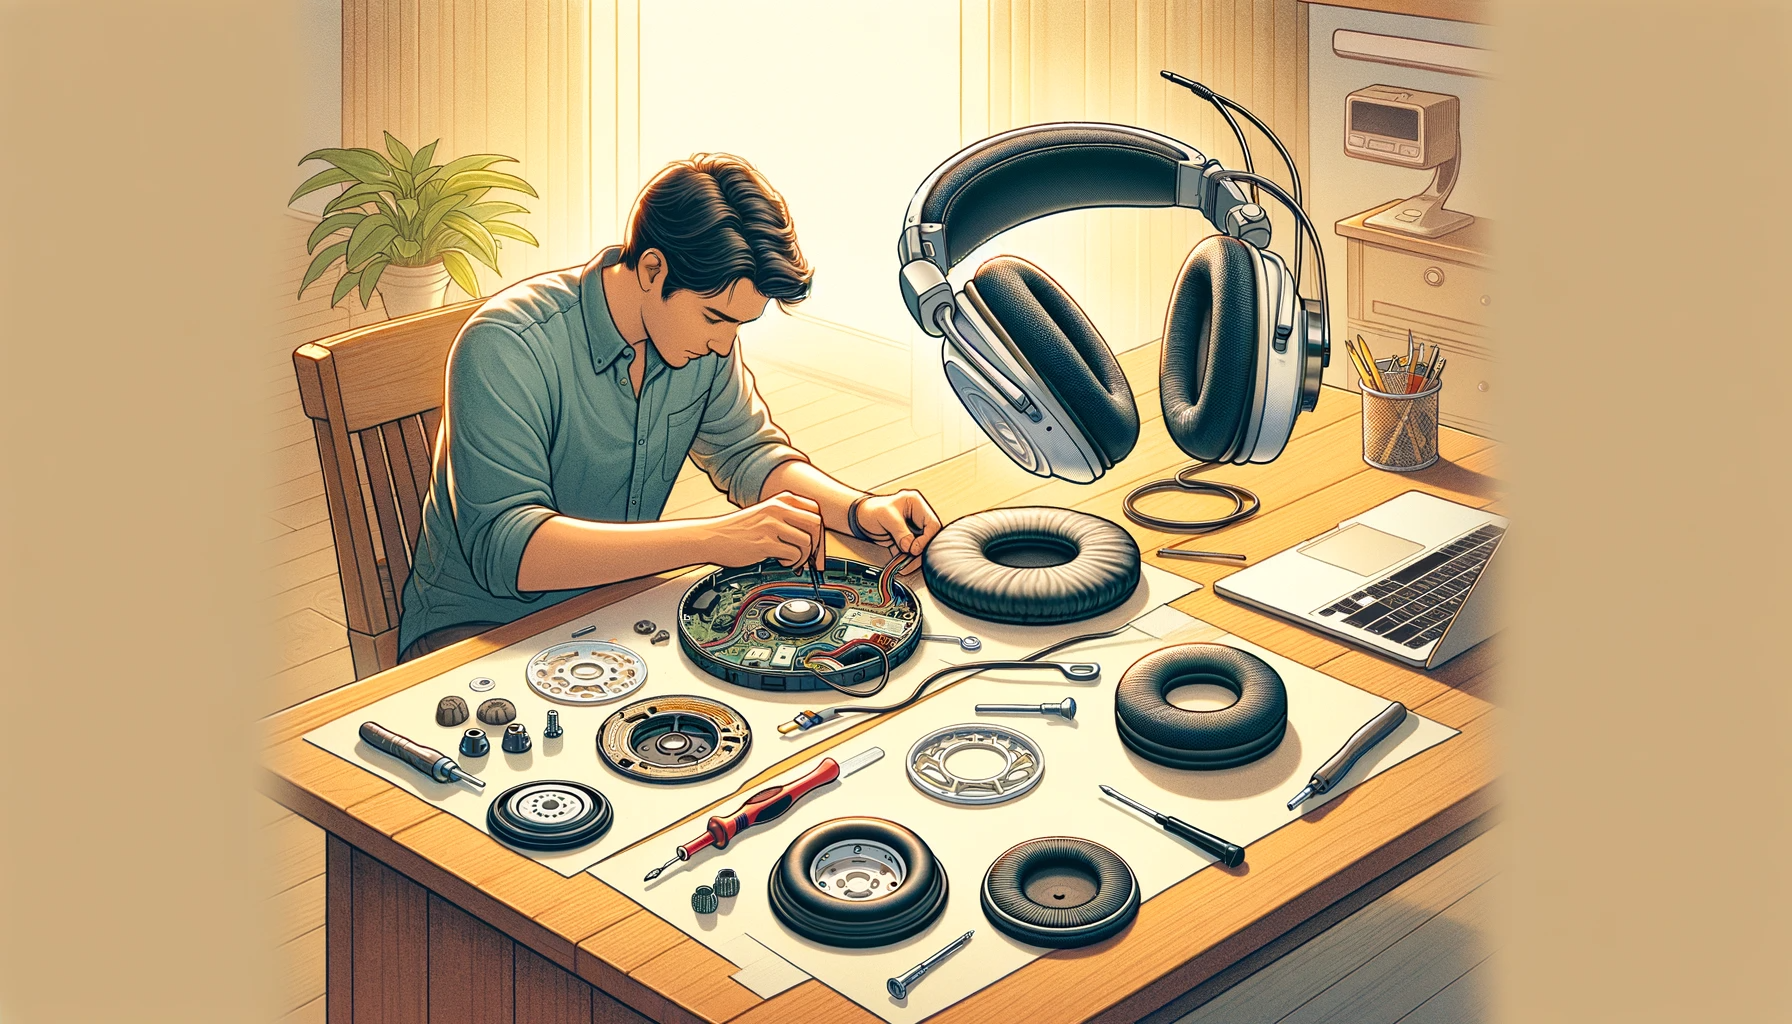
Step-by-step guide to replacing headphone pads
Removing the old pads
When it comes to replacing headphone pads, the first step is determining whether your existing pads are detachable or fixed. Detachable pads are relatively easier to replace, as they can be removed without much hassle. On the other hand, fixed pads cannot be removed and require a different approach, which we will discuss shortly.
Detachable Pads:
If your headphones have detachable pads, locating the attachment mechanism is crucial. This mechanism could vary depending on the headphone brand or model but generally falls into three categories: snap-on, adhesive, or screw-on. Take a closer look at your headphones and identify which type of attachment mechanism is present.
Once you’ve identified the attachment mechanism, gently detach the old pad from the headphones. If it’s a snap-on type, apply slight pressure on both sides of the pad and carefully pull it away from its housing.
In case of adhesive-backed pads, peel them off slowly while ensuring that no residue is left behind. For screw-on types, carefully unscrew them using a small screwdriver until they can be effortlessly removed.
Fixed Pads:
If your headphones have fixed (non-detachable) pads, replacing them might not be possible without some technical expertise or professional assistance. In such cases, it’s best to skip directly to Step VI where we discuss attaching new replacement pads.
Cleaning the headphones (optional but recommended)
While not mandatory in all cases, cleaning your headphones before attaching new replacement pads is highly recommended for hygiene reasons and optimal sound quality. For detachable pad models: After removing the old detachable headphone pads successfully (as discussed in Step 2a), there may still be some residue left around where they were attached. It’s crucial to clean this area before proceeding.
Use a soft cloth or a mild cleaning solution to gently wipe away any dirt or sticky residue, ensuring that you don’t damage the headphone’s surface. For fixed pad models: In the case of fixed pads, since they can’t be removed, focus on cleaning around the pad area.
Using a soft cloth, gently wipe the headphone surface, paying special attention to areas surrounding the pads. This will help remove any dirt or dust buildup and ensure a clean base for attaching new replacement pads.
Taking these optional but recommended cleaning steps will not only enhance your listening experience but also maintain the longevity of your headphones. Now that we’ve removed and cleaned the old pads (if applicable), we can move on to selecting and attaching new replacement pads in Step VI.
VI. Replacing with New Headphone Pads
A) Choosing Replacement Pads
When it comes to replacing your headphone pads, one crucial consideration is choosing the right replacement pads. Material preference and compatibility with your headphones are two factors you should keep in mind. There are various materials available, such as foam, leather, and velour, each offering distinct advantages.
Foam pads provide excellent comfort and generally suit most users. Leather pads add a touch of luxury and can enhance sound isolation.
Velour pads, on the other hand, offer breathability and can be ideal for longer listening sessions. Besides material preference, it’s vital to ensure compatibility with your headphones.
Different headphone models have specific pad sizes and attachment mechanisms. To find the right replacement pads for your headphones, check the manufacturer’s website or consult online forums where fellow audio enthusiasts often discuss compatible pad options.
B) Attaching New Replacement Pads
Now that you have chosen the perfect replacement pads for your headphones let’s move on to attaching them securely. 1a) For Detachable Pads:
If your original pads were detachable from your headphones, replacing them is relatively straightforward. Align the new pad correctly with the attachment mechanism on your headphone cup or earpiece.
Make sure it fits snugly into place without any gaps or misalignments. If it uses a snap-on mechanism, apply gentle pressure until you hear a satisfying click that indicates a secure fit.
If adhesive or screws are required for attachment, follow the manufacturer’s instructions carefully to ensure proper adhesion. 1b) For Fixed Pads:
In the case of fixed headphone pads that do not detach easily (often found in on-ear headphones), replacing them requires a different approach but is still manageable. Align the new pad correctly over the existing fixed area of your headphones’ ear cups or headband cushioning.
Press firmly and evenly on the pad to ensure it adheres properly. Take your time, working from one side to the other, applying even pressure throughout.
This will help prevent any air bubbles or loose areas that could compromise comfort or sound quality.
Conclusion
Replacing headphone pads may seem like a daunting task at first, but with a little guidance and patience, it is well within your capabilities. By choosing the right replacement pads based on material preference and compatibility with your headphones, you can enhance both comfort and audio experience. Whether it’s aligning detachable pads correctly or ensuring proper adhesion for fixed ones, taking the time to replace your headphone pads will rejuvenate your listening pleasure.
Remember that replacing worn-out pads not only improves comfort but also ensures optimal sound performance in your beloved headphones. So, don’t hesitate next time you notice flattened padding or visible tears – go ahead and give those headphones a well-deserved makeover! With fresh pads in place, you’ll be ready to enjoy hours of immersive audio bliss once again. Happy listening!